WDT Puck Prep: The Needle Tool That Fixed My Espresso
How the WDT puck-prep technique stops channeling, why needle thickness matters, and the simple routine that makes shots more consistent.
This post may contain affiliate links — see the full disclosure.
For weeks I blamed my grinder. Shots from the same dose, same grind, same beans would come out completely differently: one balanced, the next sour and gushing on one side of the basket. The grinder wasn’t the problem. The way the grounds landed in the basket was. The fix turned out to be a cheap tool with a handful of thin needles, a puck-prep trick called WDT, and it’s the single best few dollars I’ve spent on espresso.
The enemy is channeling
Espresso works by forcing pressurized water through a compacted bed of grounds, the puck. The whole thing depends on that puck having even density everywhere, because water takes the path of least resistance.
When grounds fall out of a grinder they tend to clump, so the puck ends up with denser and looser spots. Under nine bars of pressure, water finds the loose pockets and rushes through them while ignoring the dense ones. That’s channeling, and the result is one muddy cup that’s somehow both:
- over-extracted (bitter) where the water raced through, and
- under-extracted (sour) everywhere it skipped.
It’s also why your shots feel random. Tiny differences in how the grounds settle produce big differences in the cup.
What WDT puck prep actually does
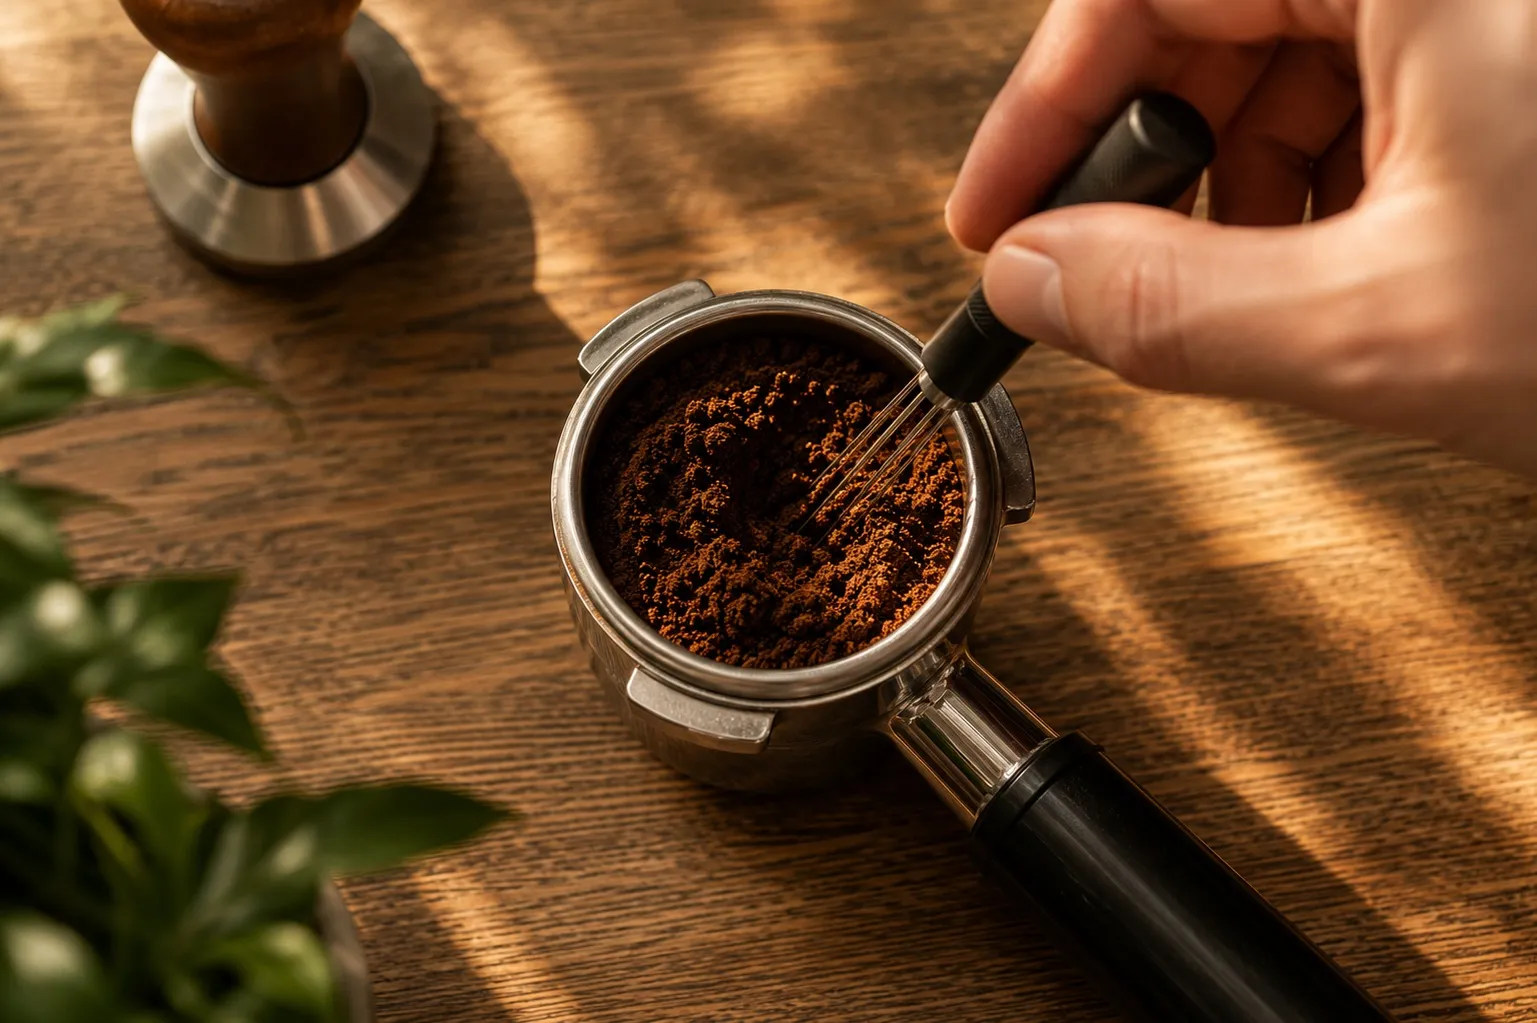
WDT stands for the Weiss Distribution Technique, named after the person who popularized it. The tool is just a set of fine needles on a handle. Before you tamp, you stir the needles gently through the dry grounds in the basket.
That stirring breaks up the clumps and evens out the density across the whole basket. With no loose patches for water to exploit, the puck resists water uniformly and extraction happens evenly. Refractometer measurements have shown WDT can lift extraction yield by a percent or more compared to just tapping the basket, which in cup terms is the difference between flat and sweet.
Needle thickness is the detail that matters
This is the part that’s easy to get wrong, and the research is clear:
| Needle gauge | What it does |
|---|---|
| 0.3–0.35 mm (the sweet spot) | Slices through clumps without shoving coffee around; leaves the bed fluffy and even |
| Thicker than ~0.4 mm | Acts like a rake, dragging grounds into furrows and creating its own channels |
So a cheap WDT tool with thick wires can make your espresso worse, not better. If you buy one, check the needle gauge.
A simple routine
The whole thing takes about ten seconds:
- Grind into the basket. If your grinder throws clumps, grind into a dosing cup first, then transfer.
- Insert the tool and stir gently in small circles, working outside-to-center and reaching toward the bottom of the bed, not just skimming the top. You’re fluffing and evening out, not digging.
- Lift the tool straight out, settle the basket lightly on the bench, then tamp level.
Two cautions: don’t overdo the stirring (aggressive mixing can compact the grounds again or build static), and keep the needles clean, since caked-on grounds defeat the point.
Is it worth it?
For the money, nothing else I’ve tried steadies espresso this reliably. A good grinder and good distribution work together, but distribution is the cheaper, faster win by a wide margin. Once WDT became automatic, my shots stopped ambushing me, and the grinder I’d been cursing turned out to be fine all along. Dull, even, repeatable pucks make better coffee than a ten-second ritual has any right to.
Dialing in by taste is the natural companion to this: knowing which way to nudge things when a shot still runs sour or bitter.
Sources: SetupBarista, Papel Espresso, Brew Coffee Home