Pour-Over Coffee: A Complete Guide to a Better Cup
A complete pour over coffee guide: the gear, the ratios, water temperature, and a step-by-step recipe, plus fixes for sour, bitter, and stalled brews.
This post may contain affiliate links — see the full disclosure.
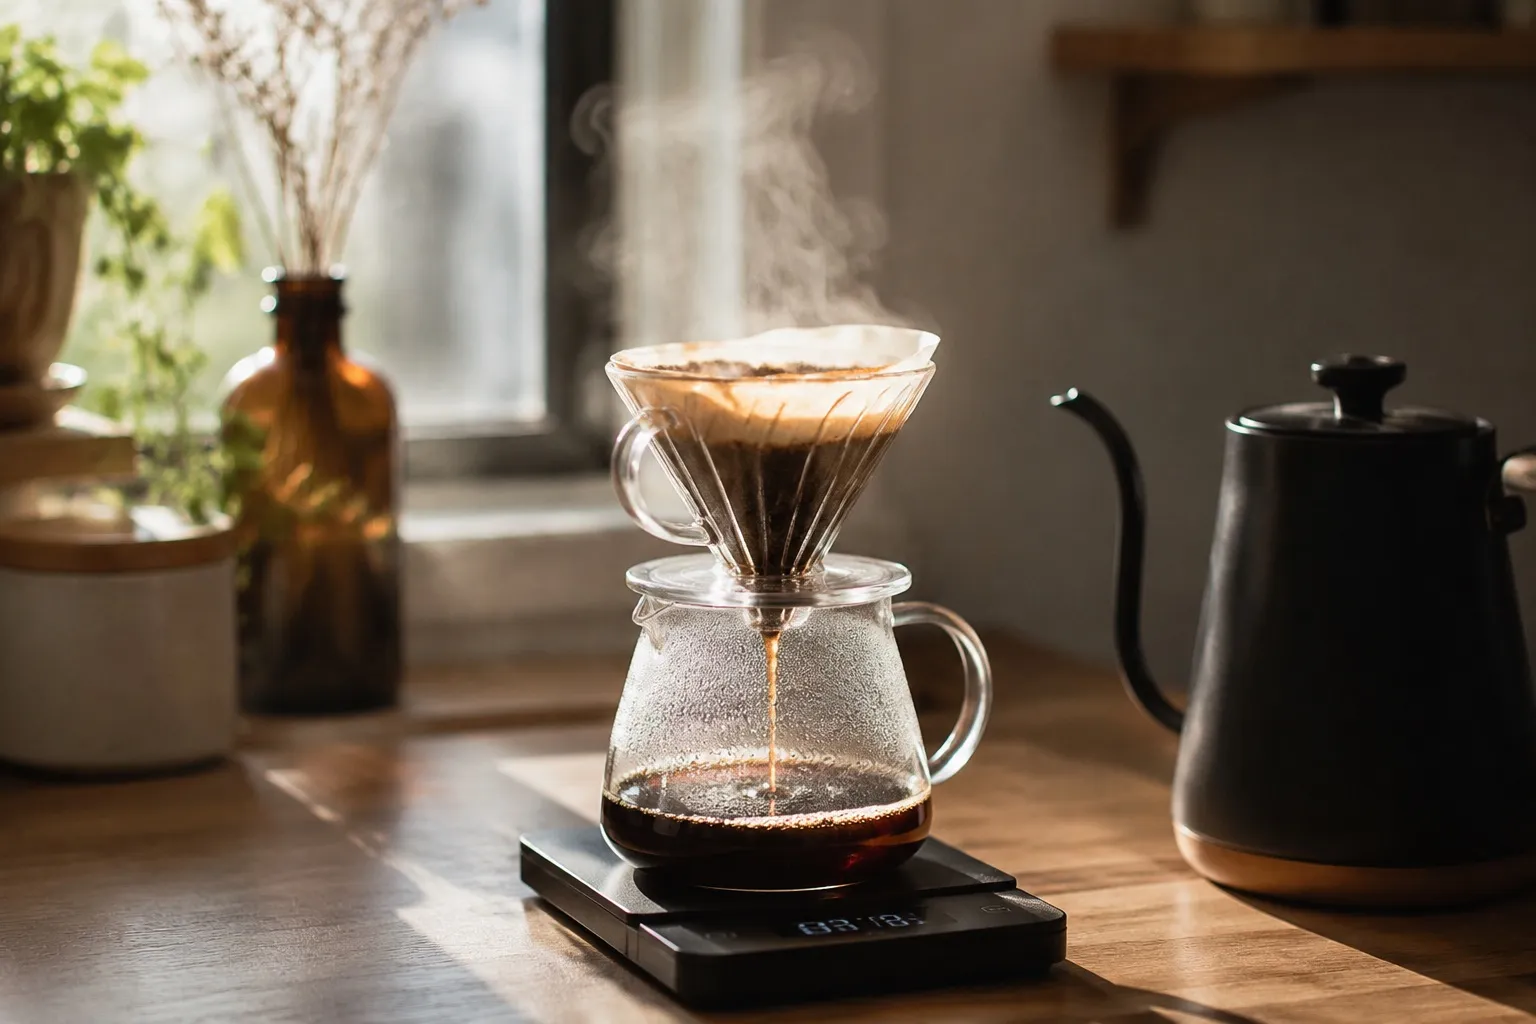
Pour over coffee is the most transparent brewing method most people will ever try at home. Hot water moves through a bed of ground coffee, gravity pulls it into a filter, and what lands in your cup is a clean, layered version of whatever the beans had to offer. There’s no machine deciding things for you. That’s the appeal and also the catch: every choice you make is in the cup, the good ones and the sloppy ones alike.
The good news is that the method is simple to learn and forgiving once you understand what each variable does. This guide walks through the gear, the numbers that matter, a repeatable recipe, and how to read a cup that came out wrong so you can fix it next time.
Why pour over coffee tastes the way it does
The flavor signature of a pour over is clarity. Because the brew passes through a paper filter, most of the oils and fine sediment get caught, leaving a clean, tea-like cup that shows off acidity and delicate aromatics. A French press, by contrast, leaves all of that in, so it tastes heavier and rounder. Neither is better than the other; they’re just different windows onto the same coffee.
Pour-over also gives you near-total control over extraction, the process of dissolving flavor compounds out of the grounds and into the water. Pull too little and the cup tastes sour and thin. Pull too much and it turns bitter and dry. Sweetness and balance live in the middle, and pour-over hands you every lever needed to land there: grind, water temperature, ratio, and how you pour. Drip machines hide most of those. Here they’re all in your hands.
The gear
You can spend a little or a lot. Here’s what makes a real difference, roughly in order of importance.
The dripper. This is the cone or basket that holds the filter and grounds. The three common shapes behave differently:
| Dripper | Shape | Flow | Tends toward |
|---|---|---|---|
| Hario V60 | Cone, one large hole, spiral ribs | Fast, you control it | Bright, clean, aromatic; rewards technique |
| Kalita Wave | Flat bottom, three small holes | Slower, metered by the dripper | Sweet, rounded, forgiving and consistent |
| Flat-bottom (Kalita, Origami flat, others) | Shallow even bed | Varies by model | Even extraction, beginner-friendly |
The V60 is the enthusiast default because it gives you the most control, which also means it punishes a careless pour. The Kalita Wave’s three small holes do more of the regulating for you, so it’s the easier brewer to get consistent results from early on. If you want a forgiving first dripper, the flat-bottom shape is hard to beat.
A quick note for immersion fans: I brew most of my non-espresso coffee on a Clever Dripper, which steeps the grounds like a press and then filters on the way out. It trades some of the pour-over’s active control for steep-and-walk-away ease. If fussing over a pour sounds tiring, that’s the gentler cousin worth knowing about.
Filters. Use the filters made for your dripper’s shape; a V60 cone filter won’t sit right in a Kalita. Paper filters come bleached (white) or natural (brown). Bleached ones impart less papery taste, so whichever you buy, rinse the filter with hot water before brewing to wash out paper flavor and preheat the dripper.
A gooseneck kettle. The thin, curved spout lets you place water exactly where you want it at a controlled rate. You can brew without one, but precise pouring is most of pour-over technique, and a wide-mouthed kettle fights you the whole way. A variable-temperature electric model removes the guesswork on heat.
A scale. Coffee is brewed by weight, not volume, because scoops vary wildly and weight doesn’t. A scale with one-gram resolution and a built-in timer is ideal. This single habit, weighing instead of scooping, fixes more bad coffee than any gadget.
A grinder. Grind matters enough to deserve its own section below. The short version: a burr grinder, not a blade one. Blade grinders chop unevenly and the inconsistency wrecks extraction. If your budget is tight, this is the place to spend before anything else.
The variables that decide your cup
Five things determine how a pour-over tastes. Get these in range and you’re most of the way there.
Ratio. How much coffee to how much water, by weight. The practical pour-over range is 1:16 to 1:17 (one gram of coffee for every 16 to 17 grams of water). The Specialty Coffee Association’s Golden Cup guidance lands in the same neighborhood, around 55 grams of coffee per liter of water with about a 10% tolerance either way. Start at 1:16 and adjust to taste: a touch more water for a lighter cup, a touch less for a stronger one.
Grind size. Aim for medium to medium-fine, roughly the texture of table salt. Grind is your most powerful single lever because it changes both how fast water flows and how much gets extracted at once. Finer grinds slow the water and pull more out; coarser grinds speed it up and pull less. Dialing this in by taste is the heart of the craft, and it’s covered in depth in the coffee grind size guide.
Water temperature. The SCA recommends 195 to 205°F (about 90 to 96°C). Off the boil, water sits around 212°F, so a 30-second rest gets you into range, or set a variable kettle near 200°F (93°C). Hotter water extracts more aggressively; cooler water can leave the cup sour and underdeveloped. And since brewed coffee is about 98% water, the water itself matters as much as the heat, which is why water chemistry deserves its own attention.
Pour technique. Pour in slow, controlled circles from the center outward, keeping the bed level and avoiding the filter edges (water that runs down the side bypasses the grounds). Steady beats fast. The point is to wet all the grounds evenly so every particle extracts at a similar rate.
Total brew time. For a single cup of roughly 15 to 20 grams of coffee, aim for a total of 2:30 to 3:30 from first pour to the last drops draining through. Drifting outside that window is usually a grind problem, which the troubleshooting table below covers.
A step-by-step pour-over recipe
This is a reliable single-cup starting point: 20 grams of coffee to 320 grams of water, a 1:16 ratio. Scale up or down keeping the proportions.
- Heat the water to around 200°F (93°C). If you boiled it, let it rest about 30 seconds.
- Grind 20 grams of coffee to a medium texture, like table salt. Grind right before brewing.
- Rinse the filter with hot water, dripper sitting on your cup or carafe. Discard the rinse water and preheat is done.
- Add the grounds and give the dripper a gentle shake to level the bed. Place it all on the scale and zero it out.
- Bloom: start your timer and pour about 40 grams of water (roughly twice the coffee weight), just enough to wet everything. Wait 30 to 45 seconds. Fresh coffee will puff and bubble as trapped CO2 escapes. That swelling is the bloom, and it’s worth understanding because skipping it leaves gas in the bed that pushes water away and causes uneven extraction.
- First main pour: in slow circles, add water until the scale reads about 180 grams total. Keep the pour gentle and central.
- Second pour: once the level drops a little, top up to the full 320 grams. Try to finish all pouring by about 1:45 to 2:00 on the timer.
- Drawdown: let the remaining water filter through. A gentle swirl of the dripper here helps settle the bed flat for an even finish. Total time should land around 2:30 to 3:30.
- Swirl, sip, take notes. Give the cup a moment to cool. Coffee shows its best self a little below scalding.
Brew targets at a glance
| Variable | Target | Notes |
|---|---|---|
| Ratio | 1:16 to 1:17 | ~55 g coffee per liter (SCA Golden Cup) |
| Grind | Medium to medium-fine | Texture of table salt |
| Water temp | 195 to 205°F (90 to 96°C) | ~200°F / 93°C is a safe middle |
| Bloom | ~2x coffee weight, 30 to 45 s | Wets the bed, releases CO2 |
| Total brew time | 2:30 to 3:30 (single cup) | Adjust with grind, not the clock |
| Dose (single cup) | 15 to 20 g coffee | 320 g water at 1:16 for 20 g |
When the cup comes out wrong
Pour-over problems almost always trace back to extraction or to an uneven coffee bed. Read the cup, then change one thing at a time.
| Symptom | Likely cause | Fix |
|---|---|---|
| Sour, thin, sharp | Under-extraction | Grind finer, raise water temp, slow the pour |
| Bitter, harsh, dry | Over-extraction | Grind coarser, lower water temp slightly |
| Drawdown too fast (under ~2:00) | Grind too coarse | Grind finer for more resistance |
| Drawdown too slow or stalled | Grind too fine, or clogged filter | Grind coarser; pour more gently |
| Sour and bitter at once | Channeling, uneven bed | Bloom fully, pour gently in circles, swirl to settle |
The sour-versus-bitter read is the one to internalize first. Sour means you didn’t pull enough flavor out; bitter means you pulled too much. They point in opposite directions, so naming the taste correctly tells you which way to move the grind.
Channeling is the sneaky one. It happens when water carves narrow channels through the bed instead of soaking through evenly, over-extracting some grounds while barely touching others. The result tastes sour and bitter at the same time, which is confusing until you know the cause. The cure is bed preparation, not grind: bloom thoroughly so every particle is wet, pour gently in level circles, and give the slurry a small swirl before the final drawdown.
Who pour-over is for
Pour-over suits anyone who likes a clean, bright cup and doesn’t mind spending three or four attentive minutes making it. It’s ideal for single-origin coffees where clarity is the point, and for people who enjoy the ritual of brewing by hand. It’s less ideal if you want to wake up, press a button, and walk away, or if you’re making coffee for a crowd, since it brews one or two cups at a time.
If the daily fuss isn’t for you but you still want filtered clarity, an immersion brewer splits the difference: steep-and-drain ease with a paper-filtered finish. And if you love the control but want it on autopilot some mornings, that’s a fine reason to own both a pour-over cone and something simpler.
Start with the recipe above, brew it three days in a row without changing anything, and only then start adjusting one variable at a time. Consistency first, then refinement. If you want to go deeper on the single biggest lever, the grind size guide is the natural next read, and it’ll make every cup after this one easier to dial in.
Sources: SCA Golden Cup standard, Golden Cup ratio reference, pour-over water temperature guide, V60 vs Kalita Wave comparison, pour-over troubleshooting, channeling in pour-over. Ranges vary slightly between sources; treat them as starting points to adjust by taste.